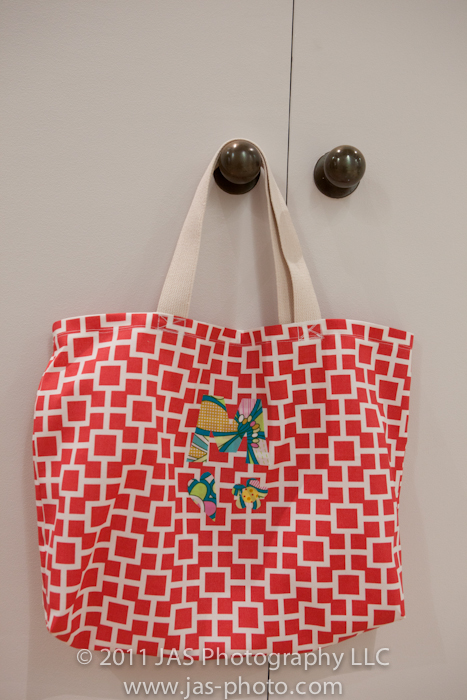
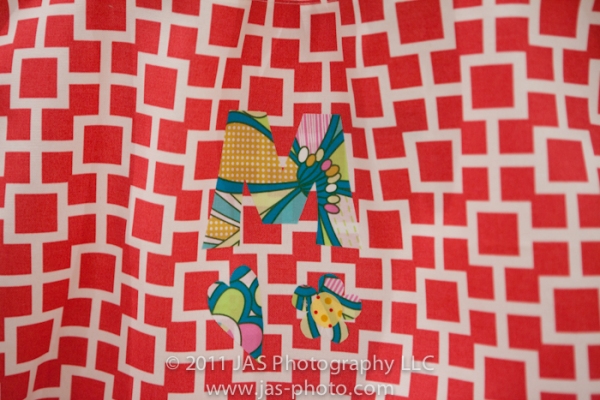
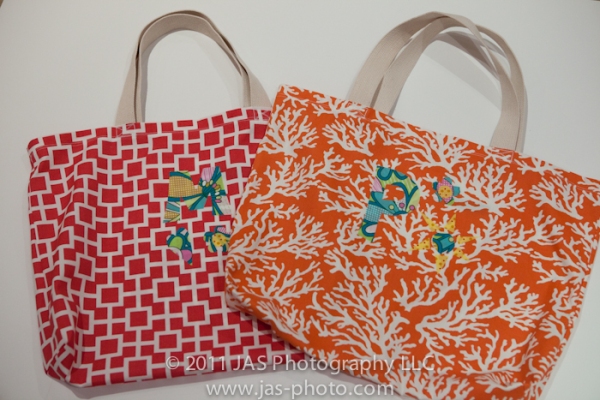
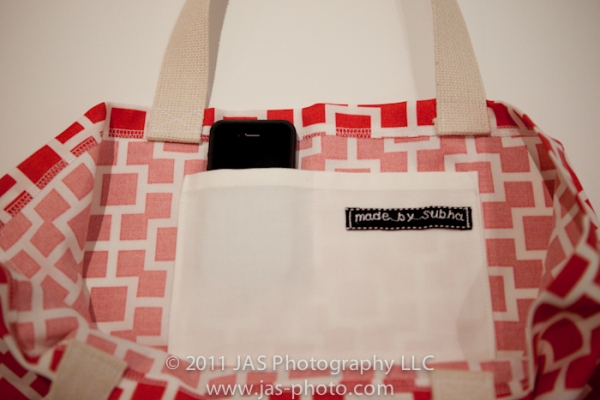
Teacher’s Gifts: Beach Bag Tote
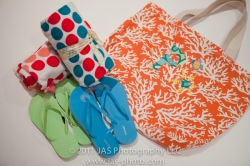
Here’s an idea for teacher’s gifts. A little late for the summer, but these were fun to make! Simple tote bags with applique letters for the teacher’s names. On the inside I sewed a pocket to fit a phone and keys or other small items. I bought simple flip-flops from from Old Navy and colorful beach towels to go with them!


Bacon wrapped mini-quiche – A fun and easy dinner!
I have been seeing some amazing pictures of food on Instagram from some friends and it motivated me this evening. This was actually really fast and tasted equally good without the bacon for the vegetarians!
Combine egg whites, milk, cheese ( I used cheddar and feta), veggies (I used frozen spinach, bell pepper, onions and scallions – whatever was in the fridge/freezer), garlic , salt, pepper , cilantro

Then line muffin spots with a piece of bacon if u like and fill them with the egg mixture. I have a star shaped muffin pan so used that without bacon for the kids


The kids ate them up! R wasn’t excited about the feta, but still ate it 🙂
Fun ideas from family fun magazine
Here are some fun crafts and other ideas I liked from family magazine today 🙂


I totally want to make this! I have so many magazines this would be a great use for them.

Fun playroom/decor ideas

I just received the Land of Nod catalog today, and fell in love with some really cute things. To be honest, I have barely ordered anything from there because it tends to be pricier than I would like. But I was thinking some of these pictures could service as inspiration to me (or you!) later. Since I usually feel like I have paper and magazines coming out of my ears and I never know where I put them, I thought I’d take pictures of what I like and share it with you all! That way I can find it whenever I want and who knows, maybe you guys will make or find something cool and share it too =)
In general I have tried to make the titles/photos linkable to the site. FYI – i am in no way sponsored by Land of Nod and get nothing for this post! I just am inspired =]
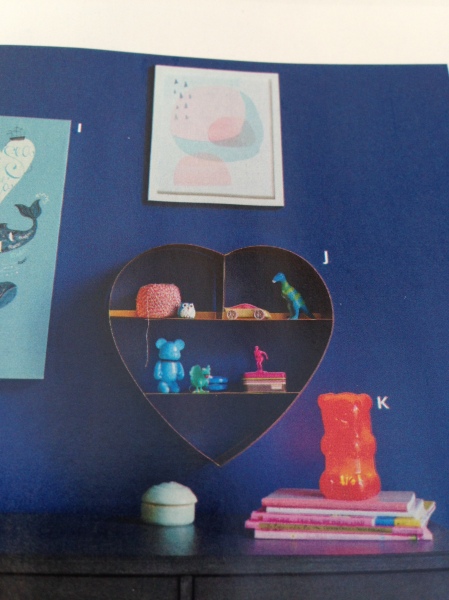
First: the heart of gold shelf ($49). I love this! Per their website it is made of Iron
I also LOVE this radial red shelf ($179 eek!). My daughter’s room is all red and white and this would go solo perfectly! If only there was free wall space…

This is the sunburst mirror ($69). Could also double as a daisy/flower mirror. This just makes me happy. It is hard to tell, but is made of an iron frame. 
Hmm…i see a theme here. I seem to be really into shelves…
The honeycomb shelves ($59). No doubt one of the cool things about this picture are the little robots!
One shelf includes 3 hexagons and also comes in grey.

I wouldn’t actually buy this bunting from them, but i LOVE it and had to take a picture of it. This may be my next activity with Radha, where I just let her cut some of my fabric scraps into whatever shape she wants and then sew them into a garland. She loves cutting things, so it will be a win-win!

Love this Orb Pendant ($199), and the retro bulb inside.

Another cute garland to inspire me. My son’s nursery is grey and yellow, so this would be so cute! Gonna half to pull out the fabric scraps from the quilt I made him (or should I say unquilted quilt top and backing that is sitting in a box in my room…)

Chromatic dresser ($799). Comes in blue and pink. Yellow or gray or pretty much any other color would have been cool too! I wish places would stop sticking to just pink and blue…. Regardless, I really like the way this looks.
I love this activity table and all of it’s compartments. But it is way more than I want t spend. I may loo to see if Ikea has some cute simple ones, but we definitely need to get something for the kiddos to work on.

I definitely dig these Little Felix retro chairs.

And this X shaped book shelf ($99). My son is obsessed with letters, so I can just picture him going “XXXXX!!!!!!”

This is more of a design note, the wood wall. We have been wanting to do this forever. Every time I see one I swoon!

Radha is really in to rainbows right now. She would get a kick out of these colored shelves ($29 each, each line shown here is 2 shelves put together). Although I’m sure she would not be happy about the ommission of orange and pink! I did debate organizing all of her books into rainbow order on her book shelf, but I decided against that since the kids love to pull them all off over and over again and they would never stay. Maybe when they are older……

Fun little set of drawers ($99) to organize small things on the activity table. Another thing my son would have fun tearing to pieces. 
Well that’s it! If any of you find some good, inexpensive activity tables, please let me know!
ADS:
Halloween! …3 months late…

Ok this is ridiculously late….but I started this post shortly after Halloween and never finished it. But since I was actually on my blog for the first time today in months and saw this draft, I just had to share it! I mean look at these cuties!
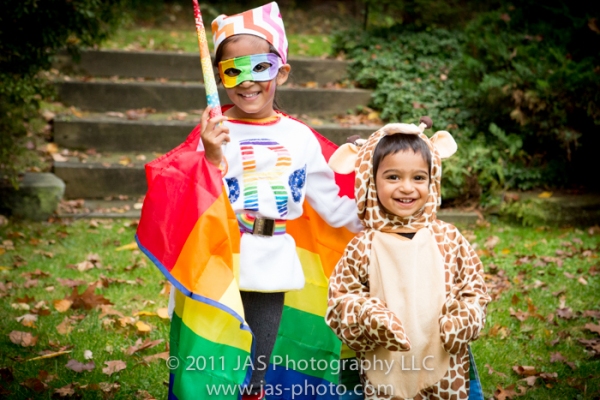
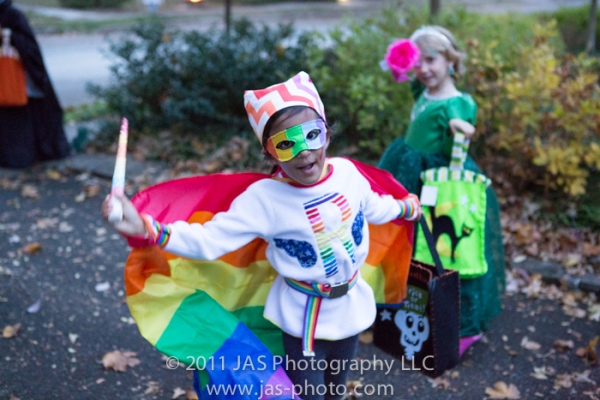
Radha said she wanted to be a Super hero for halloween. Then we both had the same idea at the same time, to make her a Rainbow superhero, since she is currently OBSESSED with rainbows. So she was:
RADHA the RAINBOW RACER!

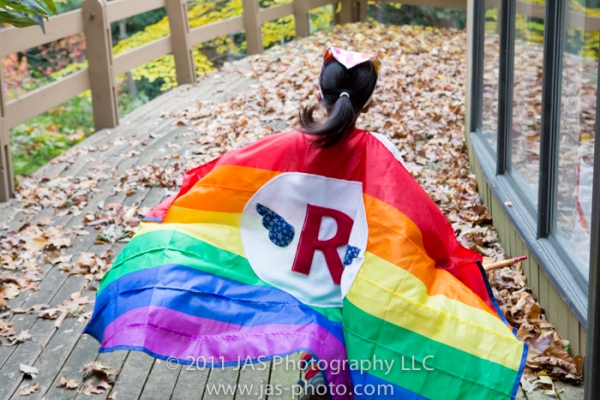
this is her racing… =]
I made pretty much the entire costume, except the leggings (those are some of my favorites from H&M), the rainbow leg warmers and some of the accessories.
I made the cape out of a rainbow flag. It was really long, so I did a pin tuck in each color to shorten it up. Then I curved the bottom corners and put bias tape around the edges.

I made a logo for her with “R” (of course!) out of felt and put it in the middle of the cape. Lastly I added fold over elastic in the middle of the top for her to slip it on over her head, and at the top two corners to put her hands through, so that it would spread out when she put her hands up.

I made the mask out of felt…the cheap kind that is, because that is what I had in my fabric stash at 12am when I was making it. Of course the first time she put it on, it ripped at one of the seams, so I made a backing for it out of one piece of black felt, which did the trick!
The bandana is just a square piece of fabric folded in half and sewn with a piece of elastic at one end. I like it, but realize in these pictures that it was too far back on her head. Oh well…
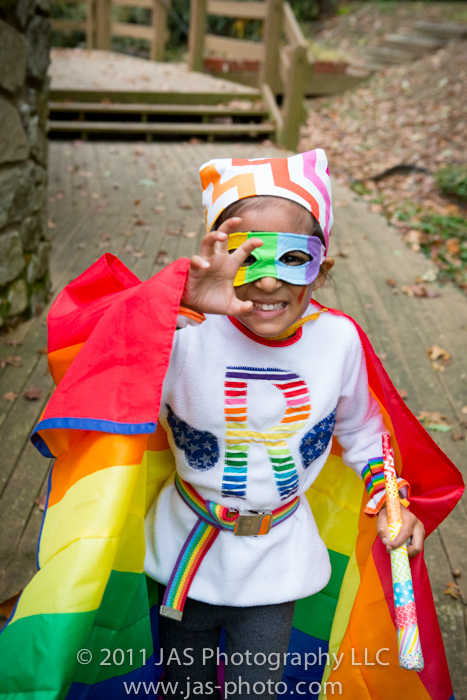
The wand was made out of regular scrap paper, rolled on an angle, and then covered with wash tape and mod podge.
I bought the belt, and shortened it a bit to fit her.
The rainbow bracelets are gay pride bracelets I found online, but they were huge for her tiny wrists. So I cut them and put velcro on the ends to put them on her.
For the shirt, I used the pattern for the flashback tee by Made-by-Rae and whatever white fleece I had in the closet. I of course had rainbow fabric on hand, and used that to make a matching R and wings.
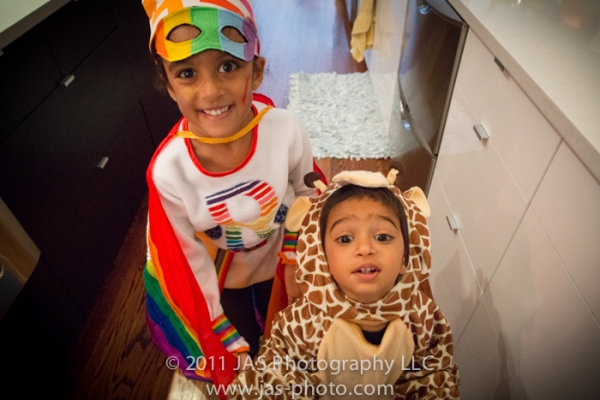
My little one has a thing for giraffes (or did at that time!) so I bought him a giraffe costume.
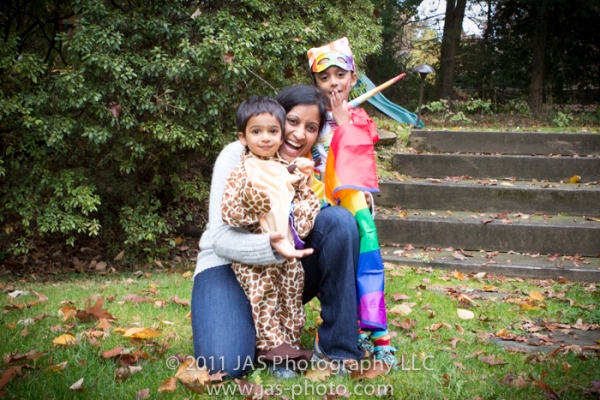
Since I had 2 rainbow flags, I pin tucked the second one like crazy to make a little rainbow cape for him too, as well as simples ones for me and dad!


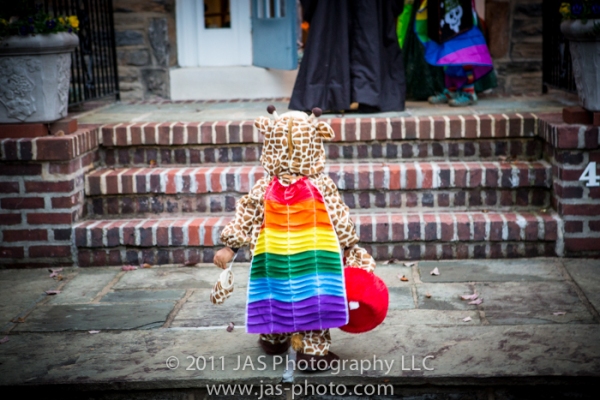
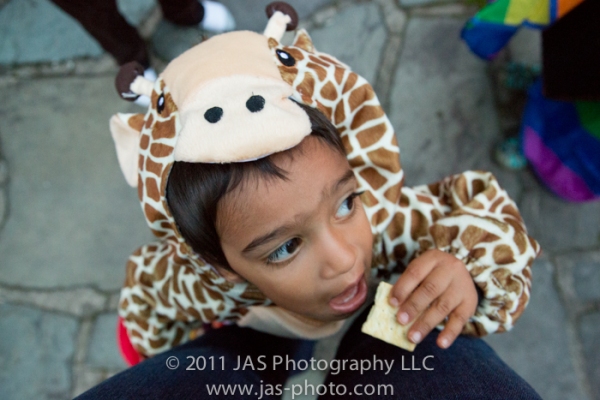


It was definitely fun! And for never having really gone trick or treating before, he sure did pick the concept up quickly!


Teaching the Scientific Method
Radha is 5, I can’t believe it! I will post pictures of her recent Rainbow party soon…or…one of these days… =)
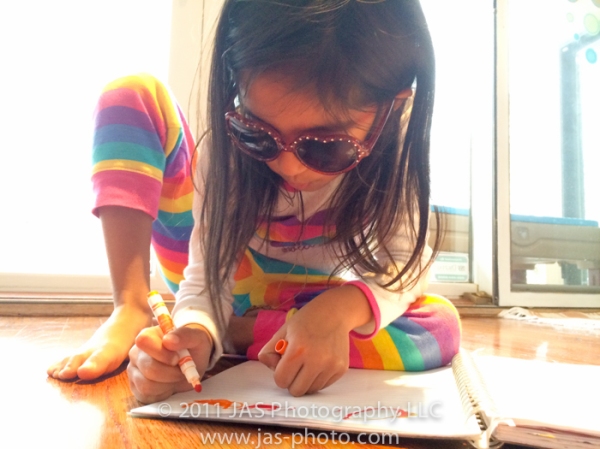
In the meanwhile, I am really enjoying her curiosity in learning how the world around her works, and using that excitement to teach her the scientific method. It’s never too early, right?
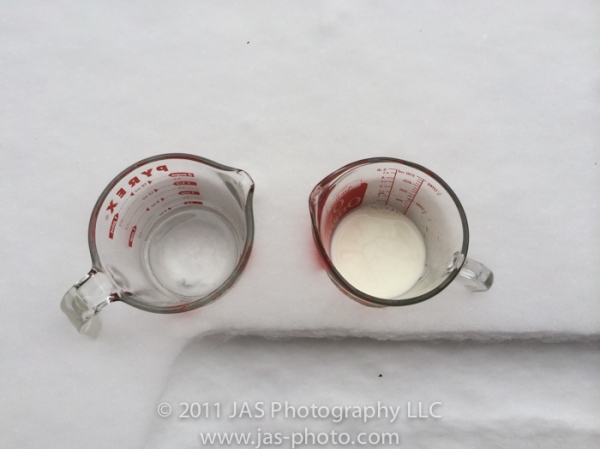
SOOO….the other day we were talking and wondering if water gets bigger or smaller or stays the same size when it freezes?
Radha helped me design the following experiment (I have been trying to emphasize that whenever you do an experiment, you should define your question, and make a hypothesis about the result of the experiment):
Question: What happens to the volume/size in a cup of water and milk when they freeze?
Radha’s hypothesis: Water will get bigger, milk will stay the same (really, these were her guesses!)
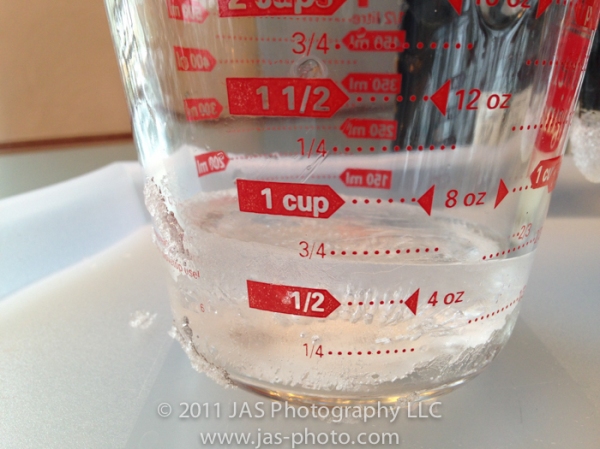
We poured 1/2c of water and milk into glass measuring cups.

Thanks to the ridiculously cold weather we have been having lately, we were able to just put them outside in the snow to let them freeze.
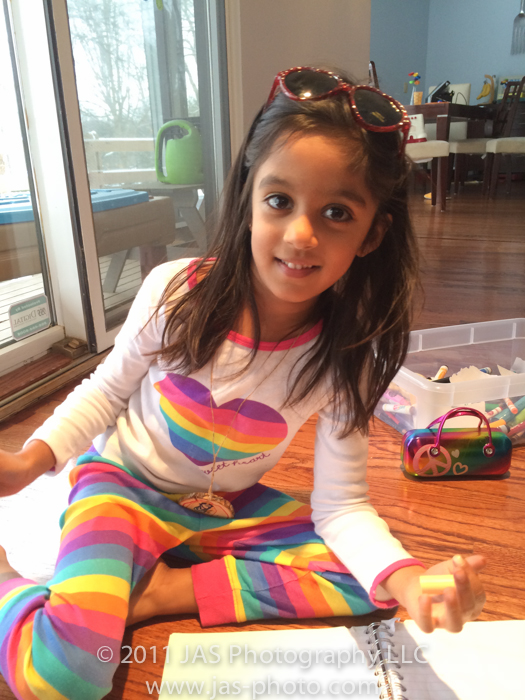
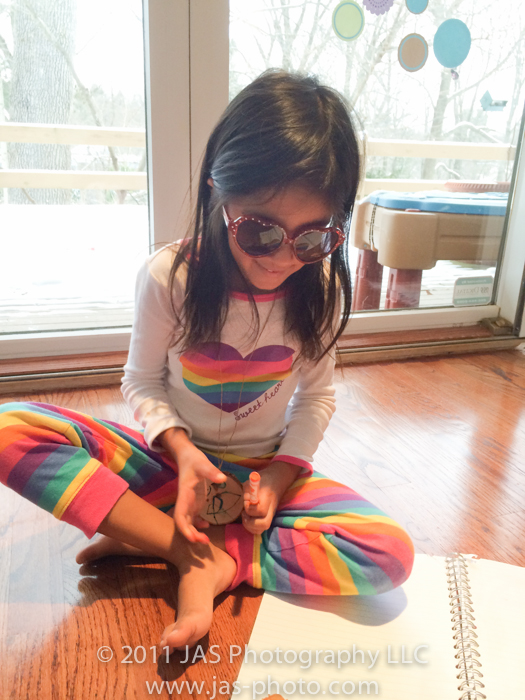
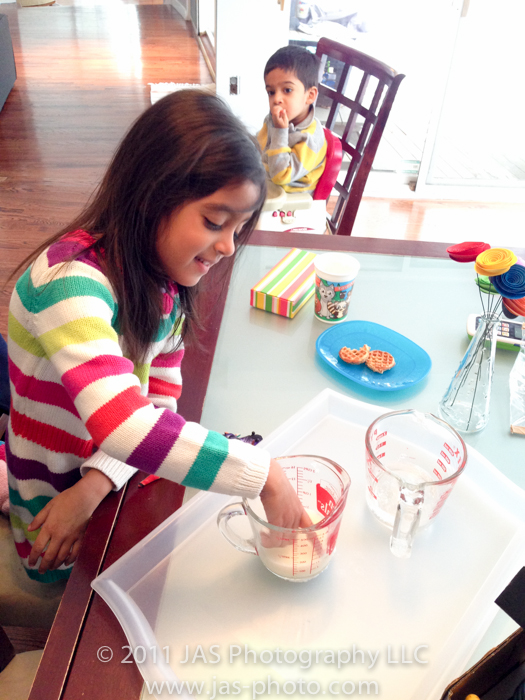
While we were waiting, Radha drew her observations in her journal.
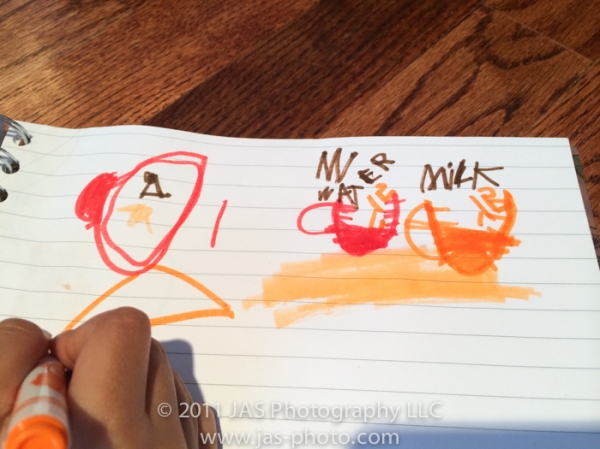
We also talked about how it is important to write down what your question is, what your hypothesis is (neither of these happened…), to record the steps of your experiment and make measurements (there is a “1/2” written there if you can make it out, but the 2 is on top and the 1 on bottom =), and then to label the different things in your pictures (she spelled out water and milk herself…with a little guidance. otherwise she would have written “wader and mik”).
The next morning, our cups looks like this!
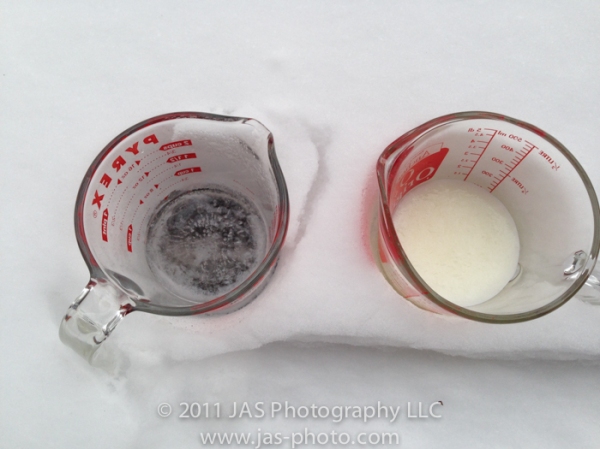
RESULTS (these have yet to be recorded in the journal, since we looked this morning before school):
Water increased to about 3/4 cup (the container was slightly slanted outside, so the level is a little difficult to interpret)
And the milk also increased, but not as much
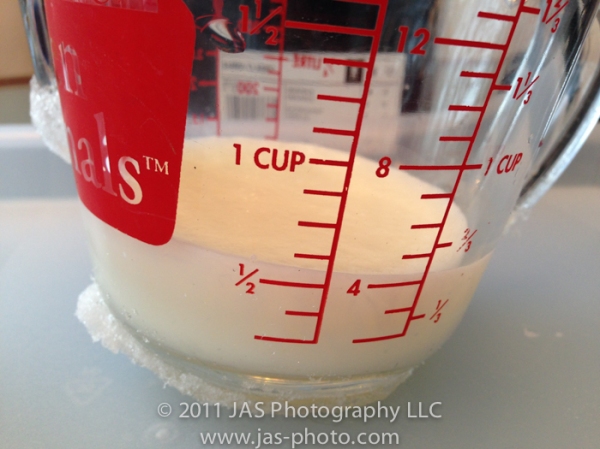
Radha also noted that the milk was very slimy, and the water was melting faster than the milk
Here is a little vide of her describing her experiment.
Hope this gives you ideas of some projects to do with your kiddos!
Lorax party details! TONS of free downloads =]
The Lorax Birthday Party!

Hi everyone! I have been missing from blogland…basically this whole year! There just seems to be too much on my plate lately.
But I wanted to share some easy, free printables I created inspired by the Lorax Party I had for my daughter not too long ago. Um, whhaaat? Actually the party was in January, so I guess “not too long ago” is already 6 months ago….yikes! Ok, time lapse aside, I’ll also give you some more details about what I did during the party and how.

First of all, here is a PDF portfolio (i.e. collection of PDFs) that has all of the free printables you will see in this post. Some of them are premade and ready print, others have editable fields that you can fill out to customize and then print. This whole “editable PDF” thing was a new project for me – so hopefully it will all work out ok!
Also, feel free to check out my pinterest board for Lorax Party ideas.
 Free Lorax Printables by HaathSe.com (c) JAS Photography LLC
PLEASE NOTE: If you are having a hard time seeing this PDF in your browser, please save it, then open it in Acrobat Reader.
UPDATE: Since people have been having problems with the PDF portfolio above, I have linked each separate file below:
Lorax – editable cupcake toppers
Lorax – editable front door sign, smaller
Lorax – front door sign, editable
(NOT for commercial use. ONLY for personal use. Please do not repost, however you may link to this post to refer people to my downloads. Thank you!)
Invitations
I made the following invitation using images I found online, and putting them together as you see here. I also made up the rhyme on the invitation (that is a big deal for me!).
The PDF download has a editable version of this, where you can put in your child’s name, age, party location and date information so you can have your own customized version!
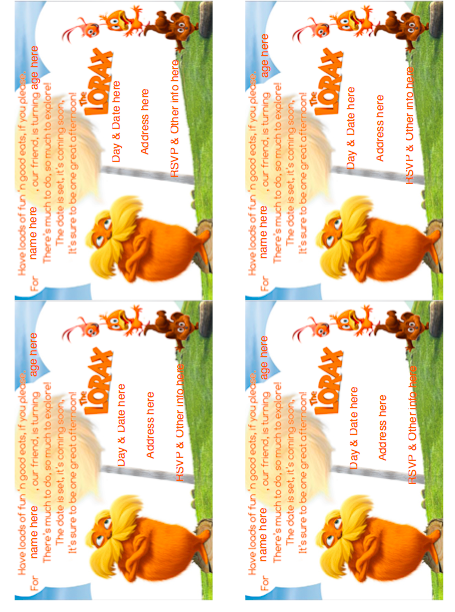
Free lorax printable download: Editable invitations
I printed the invitations at home, and bought green envelopes to go with them. I slacked this year and didn’t make matching return address labels!
Decorations
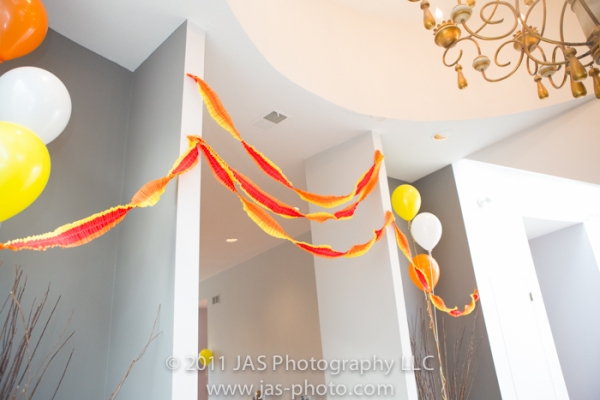
For the decorations during the party, I made some fun, multi-colored streamers per Dana Made It’s directions:

Click on the picture to go to Made.com tutorial on how to make these awesome streamers!
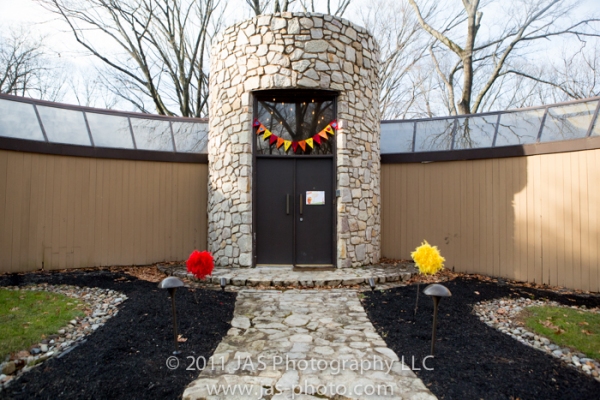
Out front, I put a regular old “celebrate” pendant banner that I think I got from Target years ago (still looks good!) and some home made truffula trees:

I found the directions for the making the truffula trees here.
I also made a sign for the door with my very own Seuss-like rhyme (this is in the PDF portfolio):

Here is the editable PDF version:

This editable door sign has a seuss-like rhyme and everything!
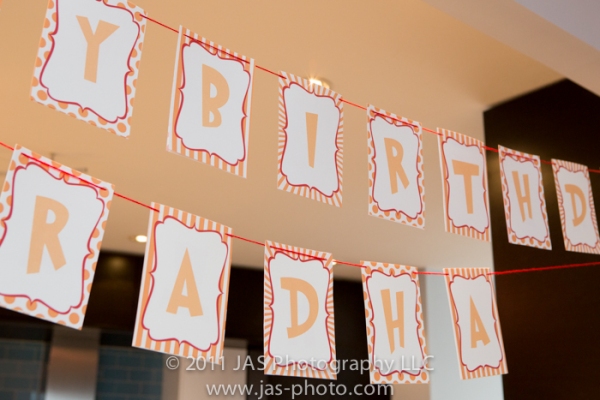
I made a banner for inside the house as well, that said “Happy Birthday Radha”
The happy birthday part is available in the PDF download as well.
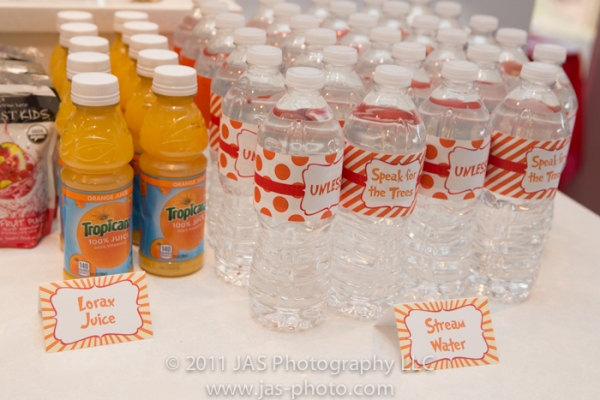
I also made tent cards to label the food, drinks and activities, trying to come up with creative names for each. The PDF portfolio has the prefilled tent cards with the names I used, as well as blank ones that you can add text to.

I can’t stomach using plastic straws any more, now that I found out how bad they are for the environment and animals. So I bought these cute paper straws from Amazon.
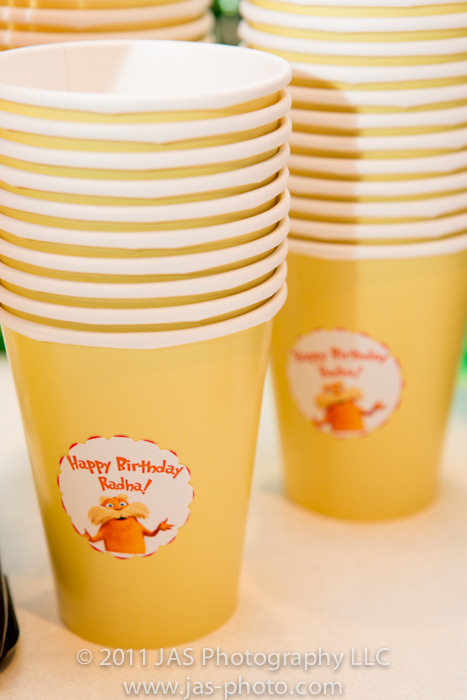
I also made cupcake toppers for the cupcakes, lollipops and cups. They are very useful! (all included in the PDF download)

Free lorax printable download: Blank tent cards
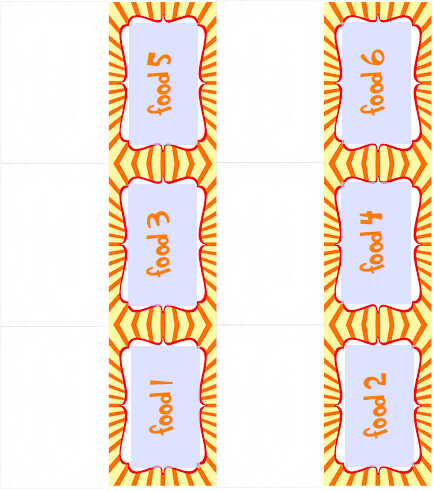
Free lorax printable download: Editable tent cards. Great to use for food labels, decorations and activities!

Free lorax printable: pre-made food and activity tent cards
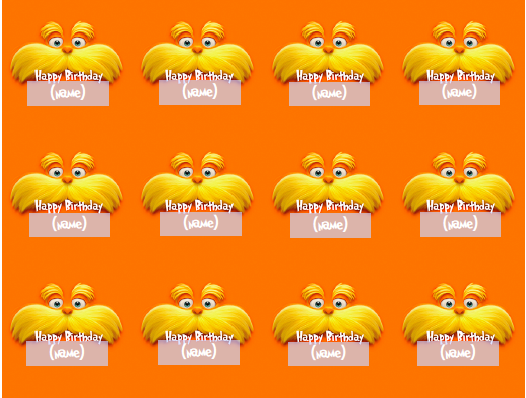
Free lorax printable download: Editable Cupcake Toppers 2
Free lorax printable download: Editable Cupcake Toppers 1
Food and drinks
Below is a fruit punch…aka Groovy Guava Punch! It is just guava juice, lime flavored club soda and mint leaves mixed together. And maybe some pineapple juice too…? …it has been 6 months…sorry!

The mason jars i kinda fell in love with after I saw them a couple of times on Pinterest. Especially the daisy cut out on the tops. Since they are glass jars, we reserved these punch drinks for the adults. The mason jars can be really expensive, but I found the jars and the lids separate at the following places and it was MUCH MUCH MUCH less expensive than most places you will find. The only downside is there was no insert with the lids, so you can’t really use them as sealable jars. That being said, you can easily buy those inserts from canning supply places!
Daisy cut lids (from Candle Soylutions…available in gold too)
By the way, it looks like the Jar Store, where I bought the mason jars, now sells the daisy cut lid as well. They are a steal!
For the food tables, I had tons of fruits, veggies, cheese and crackers. Tank goodness for wholesale places like Sams, Costco, BJs etc!

The rest of the drinks were basically sodas, milk (Butterfly’s Milk), orange juice (fits the color scheme), and water

The water labels are also part of the PDF download above or as a separate PDF below (the link has all three labels included).

And here is a PDF of 2 papers of the same color scheme that can be used to decorate random things. I used these on the bottoms of dessert plates etc…
Dessert Table
Then of course, there is the desert table. Sadly, I don’t think I have a great picture of the entire dessert table…but here are a few to give you an idea of what it was like:
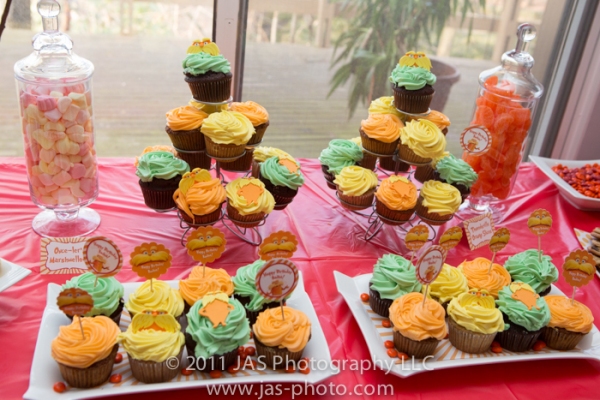
The main focus of the table was…of course…the cupcakes. I got them from a local cupcake parlor, and they made some really cute Lorax toppers for the cupcakes. The icing colors were kept pastel to go with the theme of the truffula trees

Since I couldn’t afford to get the fancy Lorax toppers for all of the cupcakes, I made cupcake toppers for the rest.

I bought these candy jars from Homegoods/Marshalls and filled them with marshmellows (they happened to have a bag of pink, orange and yellow ones!) and orange slices. We are STILL eating those orange slices…yeesh!

Since my daughter does not really dig cupcakes (go figure!) I also got a mint chocolate chip ice cream cake from Baskin Robbins. They did such an AMAZING job with decorating it!
They printed a page from the book, which is what you see to the left with the lorax, then on the sides, they made truffula trees. And all the white dollops on top are supposed to be marshmellows =)

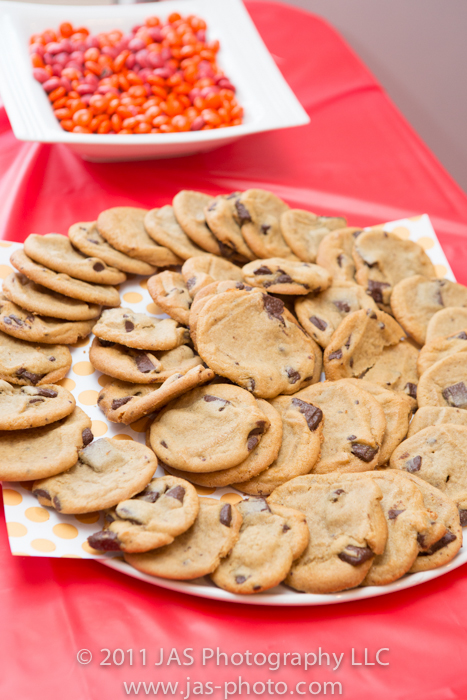
And right before the party started, I baked cookies (the pre-made, pre-cut kind by Nestle). Made the house smell yuuummmmyyyy.
You can also see in the background of this picture that I bought orange m n’ ms which I sed to decorate the plates with the cupcakes as well.

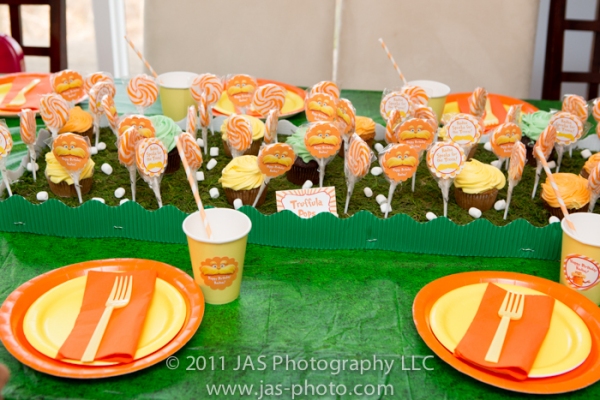
For the main dining table decorations, I used a green, grass like plastic table cloth that I got from the dollar store. Then I used orange and yellow paper ware. But my favorite part was the Truffula forest centerpiece!

To make it, I bought a styrofoam rectangle from AC Moore’s, green border from a teacher supply store (also available online) and a sheet of green moss (bought on Amazon). I then rolled the moss onto the styrofoam and used florist pins to tack the moss and the border to the styrofoam piece. I bought orange and white swirly lollipops from Amazon, put cupcake toppers on one side of them, and then stuck them into the centerpiece like trees. If I would have had more time, I would have colored black stripes onto the lollipop sticks to make them look more like Truffula Trees.

Oh, and don’t forget the mini marshmellows sprinkled around the forest, with some mini cupcakes in between as well!
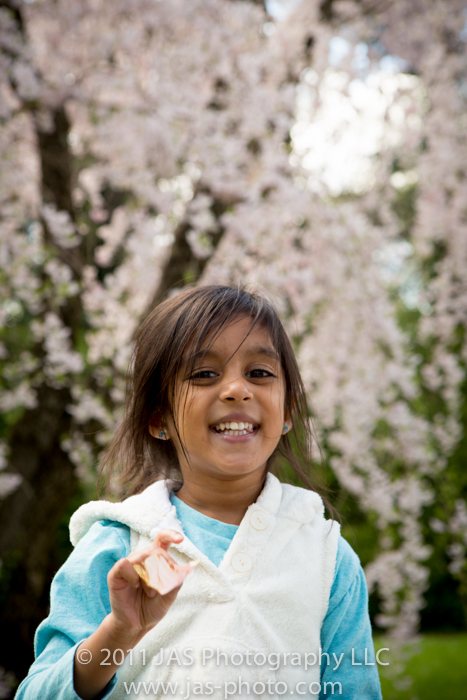
A certain some body was happy with how it turned out!

Activities
I had 3 activities planned, of which we did 2 during the party.
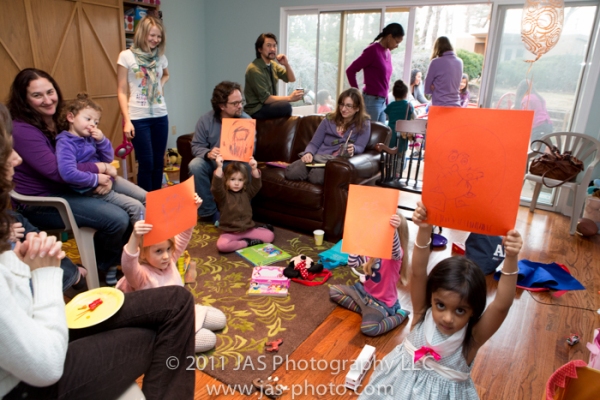
1) Draw the lorax
One of the bonus items on the Lorax DVD is this realy cool feature where one of the animators from the movie takes you through how to draw the lorax, the barbaloots, and the humming fish. It is SO cool!
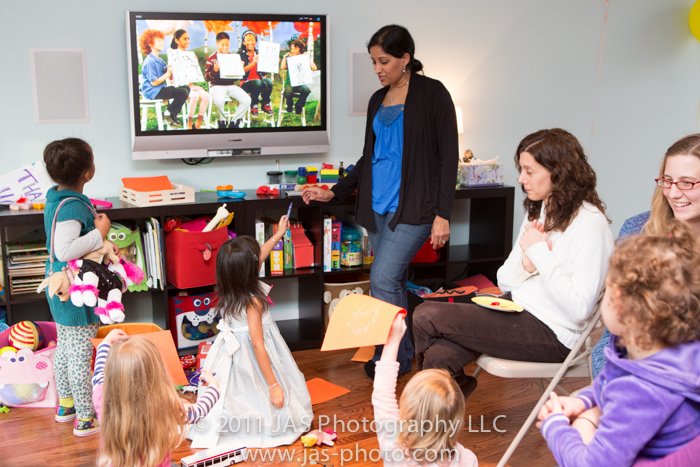
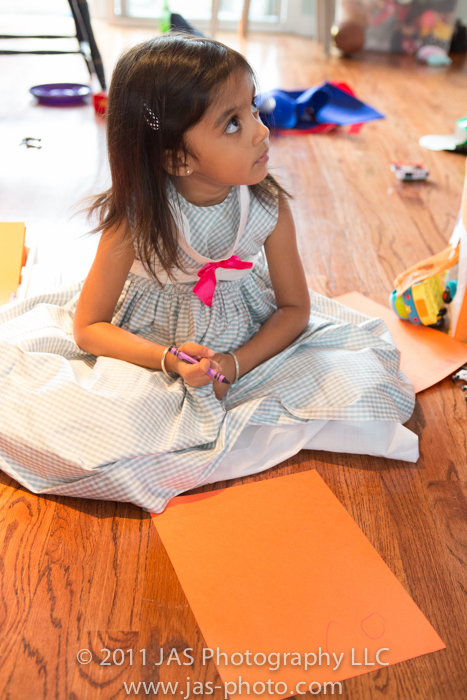
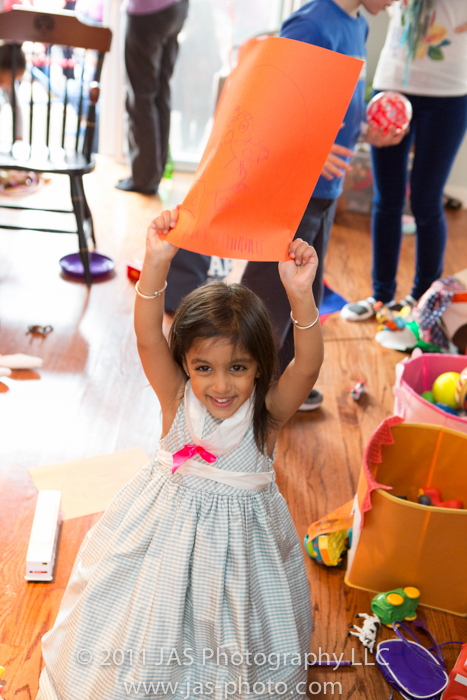
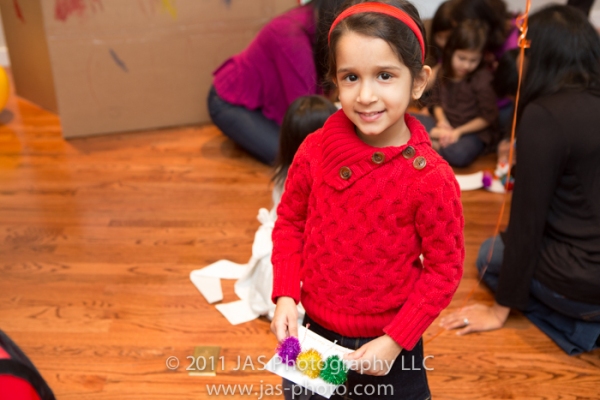
So for the party, I set out orange construction paper and black crayons (you can buy a box of just black crayons on Amazon), I played that part of the feature, and let the kids draw! I did need to keep pausing it to give them time at each step along the way, but they LOVED it!
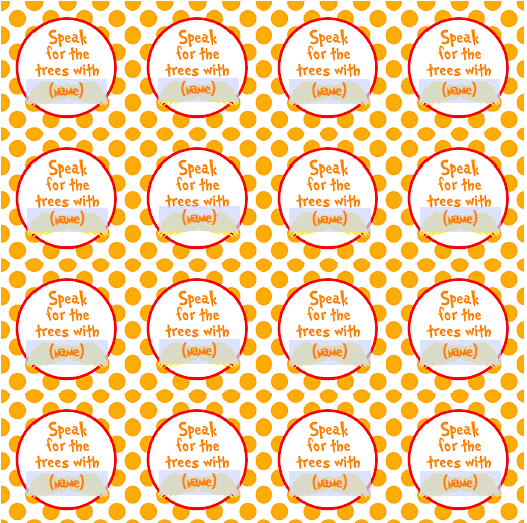
2) Save the Trees Art
I got this idea from this blog which I found on Pintrest
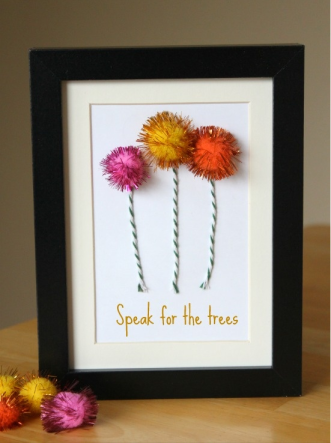
We did a modified version of this activity (same thing but without the frame).
I printed “Speak for the trees” on card stock, and precut them to make tents.

I printed this image upside down, since the bottom of the page needs a larger margin on most printers. You might need to do that too!
Then I folded them all, and put them out with a ball of fuzzy glitter balls, strips of baker’s twine and glue (don’t have a picture of the set up, but you can kind of see it all in the picture below)

I think the result was pretty cute, and the kids enjoyed it =)
Although I WOULD recommend putting something down on the floor first so that you don’t spend hours afterwards cleaning up streaks of glue. I’m just sayin…

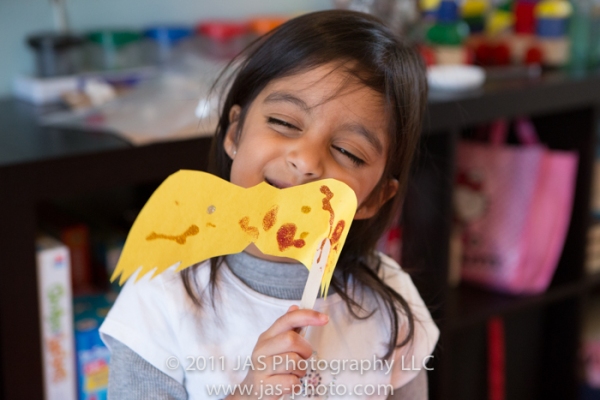
3. Last but not least, make your own Lorax mustache
We unfortunately didn’t get to this one, I think there was too much going on. In fact, I’m surprised we got even some of the kids to sit down for two activities!

Since I had everything together though, I did this as a an activity with Radha on another day.
Basically you need popsicle sticks, mustache cutouts (can be downloaded in the set of FREE printables I put together that I found online), wood glue, and glitter glue.

All you do is let the kids decorate their mustaches, then glue a popsicle stick to the back!
And there you have it!
Party Favors
For the party favors, I made several things and ordered an item online from an Etsy seller.

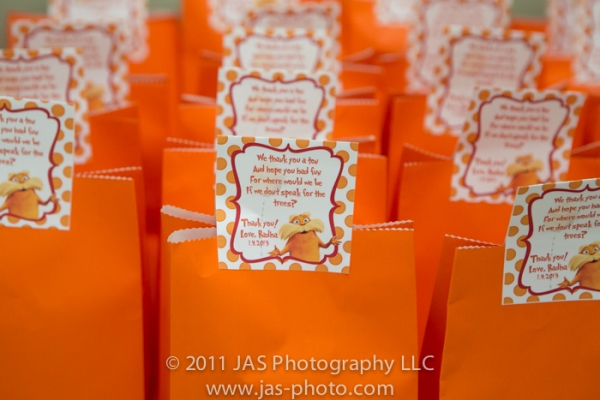
I bought the orange bags from Michaels (that’s where I found them the cheapest), and made the labels to go on the top:
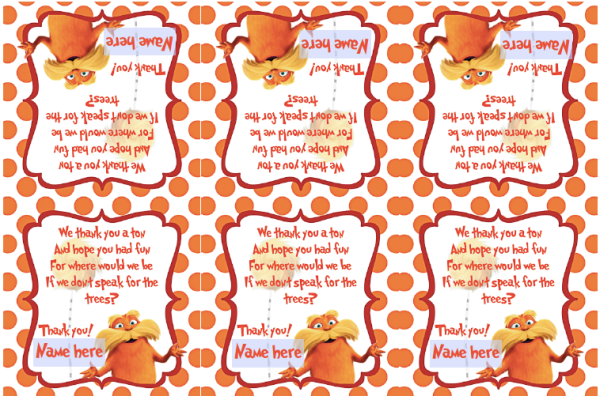
Free lorax printable for download: editable favor bag labels
Inside, I put homemade Lorax bookplates, homemade mustache crayons, homemade lorax stickers (couldn’t find any online!), and a lorax crayon roll (bought from Etsy) labeled with a thank note from Radha (also ordered from Etsy) with crayons inside.

For the mustache crayons, I used a mustache crayon mold, then broke up all of Radha’s old, broken crayons, and melted them in the oven into these cook looking mustache crayons!
The crayon rolls were an AWESOME find. They were only $2 each from this etsy seller – which was great since I needed about 30. The rolls are really great quality and came very quickly!

To make the stickers, I used my new sillhouette machine. It was pretty cool. Unfortunately, for all the work I put into them, Radha seems wholly unexcited about them. That was a bummer….
In case any of you want to make them, I am happy to email you my silhouette file that has it all already laid out. Just let me know!

Here is are the bookplates, with an editable field for the name. You can either print them blank and let people write in their own names, or you can print names on them already.

Free lorax printable download: Editable bookplates. Great for a party favor!
Lastly, here is a PDF of Lorax coloring pages to give with the crayons etc…

Lastly, Lastly (!) here is a set of free printables that I found online:
Well, I think that about sums it up!
I hope you like what you saw….and please leave comments of other ideas and how you did things in your party!

My first ever Spring Top Sew Along
I think it has been what, 5 months since I’ve written anything? Yeesh!
I have had several posts in the works…and never have time to finish them…
Well, this year, for the first time, I made myself a top! And just in time for Rae’s Spring Top Sew Along!

This is a fabric that I have actually bought twice. At two separate times. Not realizing that I had bought it the first time! I guess I liked it… =)

I modeled the shirt after a simple top I got from India on a recent trip (more on that later!). It was challenging, but I made it through, and am happy with the result. It has pin tucks in the front to allow for extra fabric to camouflage the post baby tummy (an ESSENTIAL these days..and probably for all days to come…).
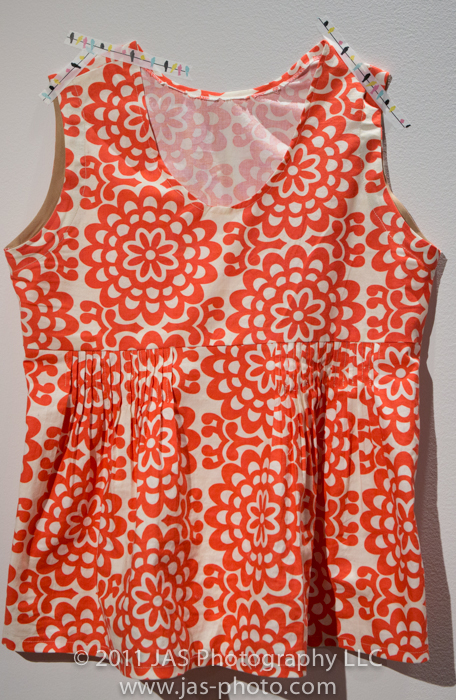
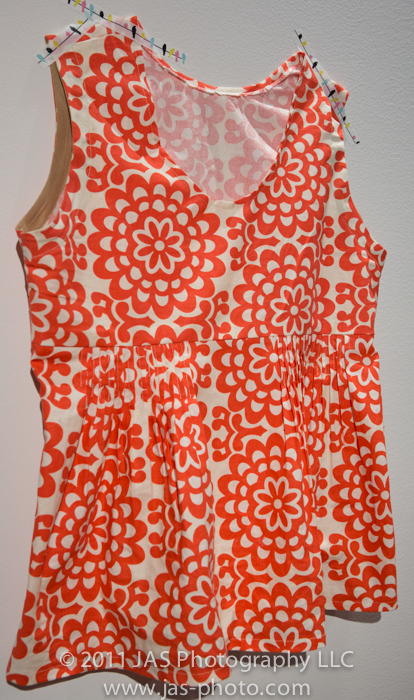
As usual, I was making this shirt as a last minute thing, so was using stuff I already had. I used bias tape to finish the arm holes, but the only color I had was the kakhi you can see peeping our of the arm hole… Not ideal, but it does the job…
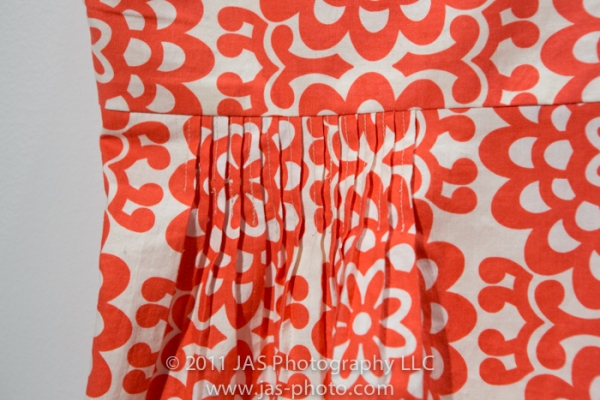
I messed up a bit on the pin tucks. The first time around I made them too long, which meant the shirt was a tad bit too tight around the tummy. So I had to go back and open each open up from the bottom, and then sew the bottom again to lock the stitches. UGH. That was a pain!
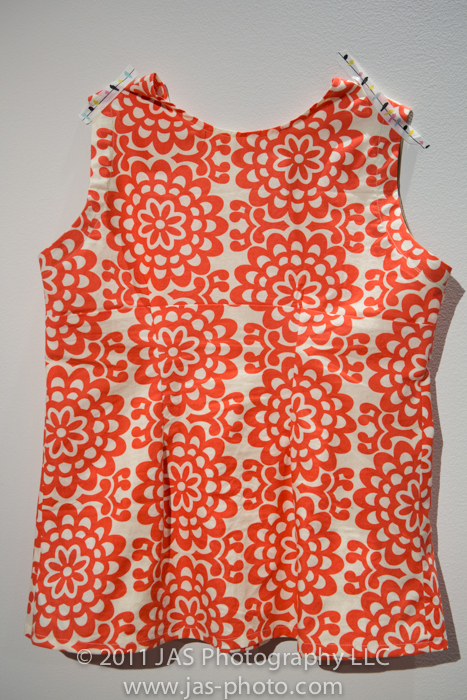
And at the last minute, I added a couple of pleats in the back…and then I was done!
(I totally flaked on the collar. I couldn’t take spending any more time, so I just turned it down and sewed it into place. Not the cleanest or coolest looking…but again, it works!)

Fortunately, I was able to get some good pics of the kiddos too!

All Washed Up – Washi Tape for 70% Off! | Pick Your Plum
Well it has been forever and a day since I have written…too much going on and not enough time to write about it!
I thought I would share a quick note however, about a great deal over at Pick Your Plum on washi tape. I’ve put the info below – check it out if you are interested (and no, i don’t get any kickbacks…although that would be nice!)
———————–From www.pickyourplum.com———————–
All Washed Up – Washi Tape for 70% Off!

All Washed Up – Washi Tape for 70% Off!
IF YOU ORDER AFTER 8:45AM (MST) your order will ship on or before MARCH 20th. IT’S WORTH THE WAIT. YES.
If “washi” was a question, the answer would be WHY NOT. And do you know why? Because washi is fun to say and is amazing for every single occasion/creation. And it’s back by popular demand. Take a gander at these amazing spring colors. Stripes. Birds. Floral. Lovely patterns. It’s like we’re single-handedly ushering in the spring. Use it on party invitations, make flags and pennants to stick in cakes and cupcakes. Tape it on a neutral-colored wrapping paper and use it as the tag. For more ideas on how to use it, click here.
Pick a color, any color:
1. Orange Bollywood
2. Birds on a Highwire
3. Summer Cottage Floral
4. Buckingham Turquoise
5. Back to 60s Yellow/Orange
6. Thin Summer Stripe
7. Pink Morocco
8. Candyland Stripes
One of Each
Each roll of washi is 10m long and 5/8 inch thick.
via All Washed Up – Washi Tape for 70% Off! | Pick Your Plum.
The Lorax Birthday Party – Highlights!
I can’t believe it, our little girl is 4! We had her birthday party this eekend, and the theme was “the Lorax” by Dr Seuss. Getting it all together was a bit challenging since I worked 10-12 hour days for 12 days straight up until the da before the party, and was out of town for the 11 days before that for the holidays. So I tried to do as much planning in early december as possible, and have been staying up until 1-2am every night these last 2 weeks to get things ready! Of course, it would’t have been possible without the help of my husband, parents and in-laws who helped carry out my unencesarily involved plans!
Anyways, I wanted to get a few pictures u to share with family, but I’l l do a big post soon with tons free down loads with all the printables that i created for the party, and with more details about what I did! Very much like my Elmo party page!
So here is the fornt of the house. Just a simple banner out front, a couple of “truffula trees” and a welcome sign.
Some fun ruffled, multicolored streamers (tutorial on http://www.dana-made-it.com).
The wonderfully yummy and beautiful cupcakes from Velvet Sky Bakery neary by our neightborhood!
Plus the amazing cake decorated by the Baskin Robbins near us!

I baked cookies right as people were coming to make the house smell yummy…
 Tried to keep some healthy options available.


Homemade sign…still up =)
 My truffle pop forest centerpiece. This was one of my favorite decoration items.

The “place settings.” All paper (which is recyclable!) except for the utensils.
I think someone liked it!

This was one of my favorite items. I fell in love with these mason jars and their lids, especially when used with a fun paper straw!


Abdorbed in one of the actiities…

And another…

The favor bags…
And cake cutting time!

Of course, we ended the night with a jam session with all the kiddos. It was quite a site to see!
Stay tuned for more details to come!
